
Import & media
Everything starts with your media. Caliptus keeps your files where they are on disk and references them, so importing is instant and your originals are never touched. This section covers importing, organizing your library, recording a voiceover and dealing with offline or variable-frame-rate files.
Import videos, images and audio
Left panel › Media
Add source files to the project. They appear in the library, ready to drop onto the timeline.
- Open the Media tab in the tool rail.
- Click Import (or Browse files), or drag files straight from your file explorer onto the panel.
- Once imported, drag a media item onto the timeline, or select it and use Add to timeline.
Files are referenced, not copied. If you move a source file later, use Relink to point Caliptus back to it.
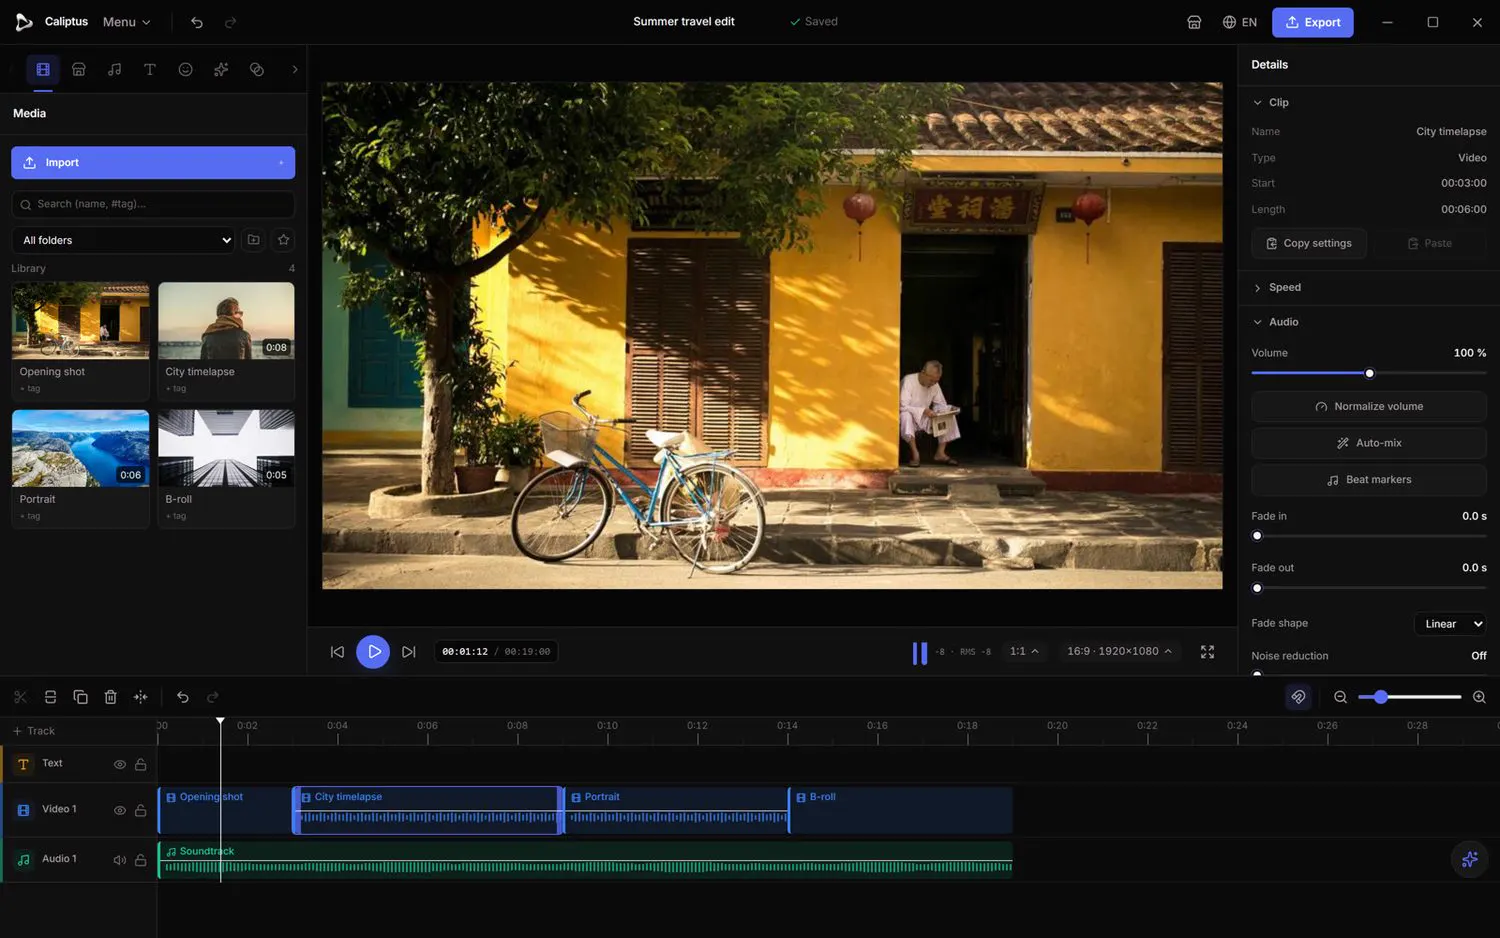
Organize the library (folders, tags, favorites)
Left panel › Media › Library
Keep large shoots tidy so you can find the right clip in seconds.
- Create a folder with New folder, then drag media into it. Use the folder dropdown to filter the view.
- Add a tag to a clip with the + tag button; search by name or #tag in the search box.
- Mark your best takes as favorites, and filter to show only those.
Record a voiceover
Left panel › Media › Record
Capture narration straight from your microphone without leaving the editor.
- Click Record in the Media tab.
- Talk, then click Finish to stop.
- The recording is added to the library and dropped onto the timeline at the playhead.
If recording fails, allow microphone access for Caliptus in your system settings and try again.
Trim before you insert (source monitor)
Media item › Open in source monitor
Preview a clip on its own and choose exactly the part you want before it lands on the timeline.
- Open a media item in the source monitor.
- Set an In point and an Out point to keep only the range you need.
- Use Insert to push it in at the playhead, or Overwrite to drop it over what is already there.
Relink offline media
Left panel › Media (offline banner)
If a project is moved or a drive is unplugged, clips go offline. Relinking restores them without redoing your edit.
- When media is missing, an offline banner appears in the Media panel.
- Use Relink to locate a single file, or Relink from folder to reconnect many at once.
- Caliptus matches files by name and reports how many were relinked.
Fix variable frame rate (VFR › CFR)
Media item › VFR badge
Phone screen recordings often use a variable frame rate, which can drift out of sync on export. Converting to a constant frame rate avoids this.
- Imported VFR videos are flagged with a badge and a toast notification.
- Click Convert to CFR on the badge, or Convert all from the toast.
- Keep editing with the converted, sync-safe copies.