
Color grading
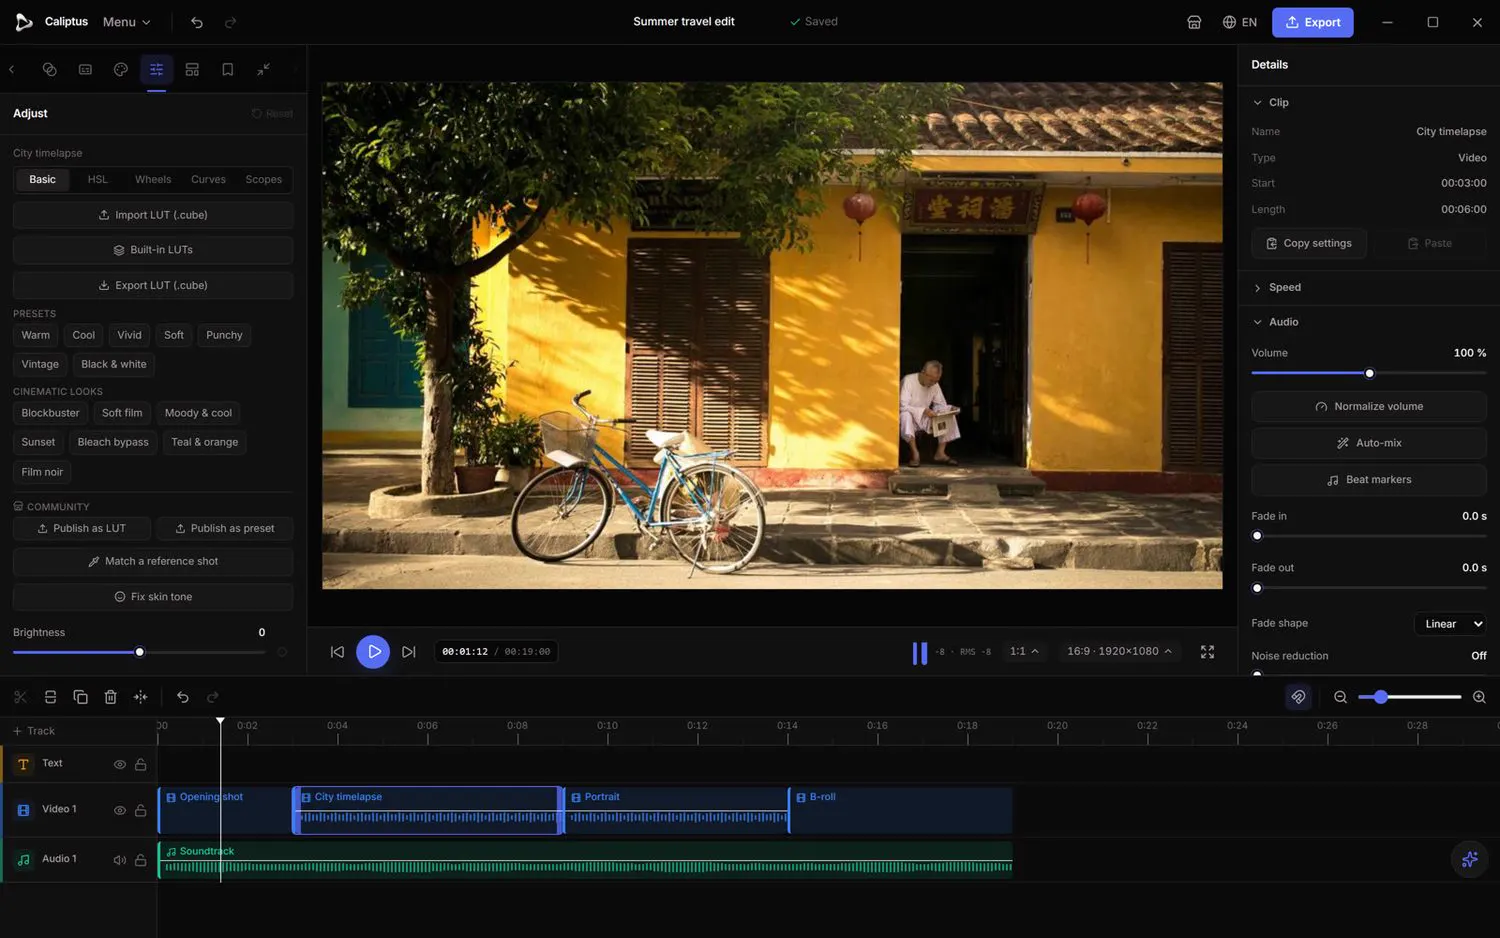
Color is where a video finds its mood. The Adjust tab holds a full grading suite: quick corrections, HSL, curves, color wheels and broadcast scopes, plus one-click presets, cinematic looks and .cube LUTs. Everything works on the selected clip.


Basic corrections
Left panel › Adjust › Basic
Balance exposure and color with familiar sliders, the foundation of any grade.
- Select a video clip or image and open the Adjust tab.
- On the Basic sub-tab, set Brightness, Exposure, Contrast and Saturation.
- Refine with Temperature, Tint, Highlights, Shadows, Whites, Blacks, Clarity and Vibrance.
Reset returns the whole grade to zero; Sharpness and a built-in Vignette are here too.
HSL (targeted colors)
Left panel › Adjust › HSL
Adjust one color range at a time: for example, deepen skies without touching skin.
- Open the HSL sub-tab.
- Pick a color range and change its Hue, Saturation and Luminance.
- Repeat for other ranges to shape the palette precisely.
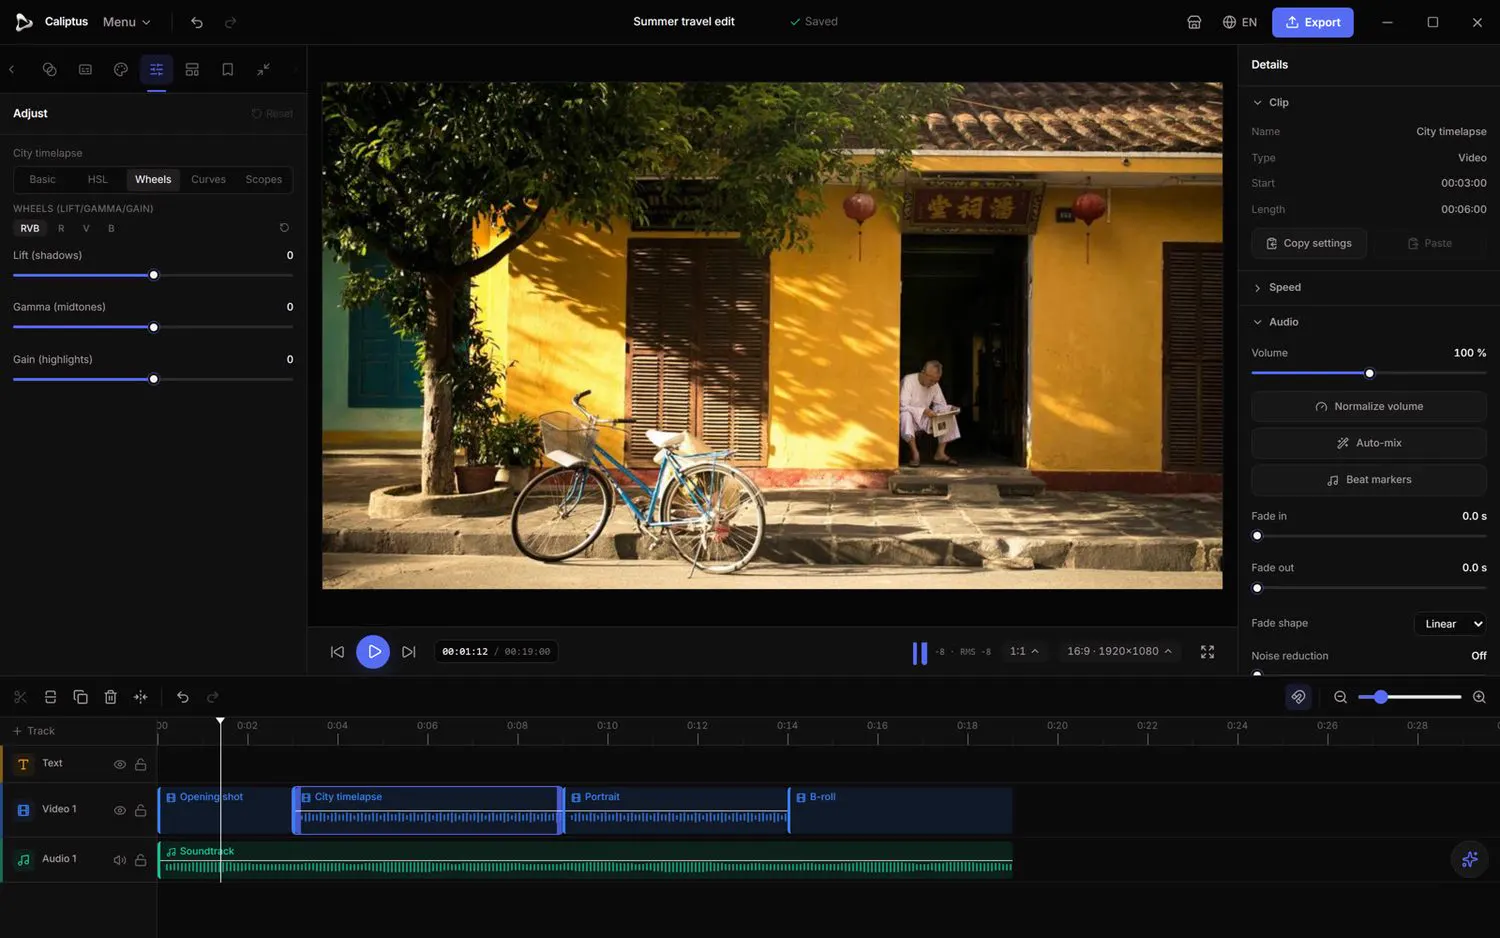
Color wheels (lift, gamma, gain)
Left panel › Adjust › Wheels
Push color into the shadows, midtones and highlights independently, the classic three-way grade.
- Open the Wheels sub-tab.
- Use Lift for shadows, Gamma for midtones and Gain for highlights.
- Use Reset wheels to start over.
Curves
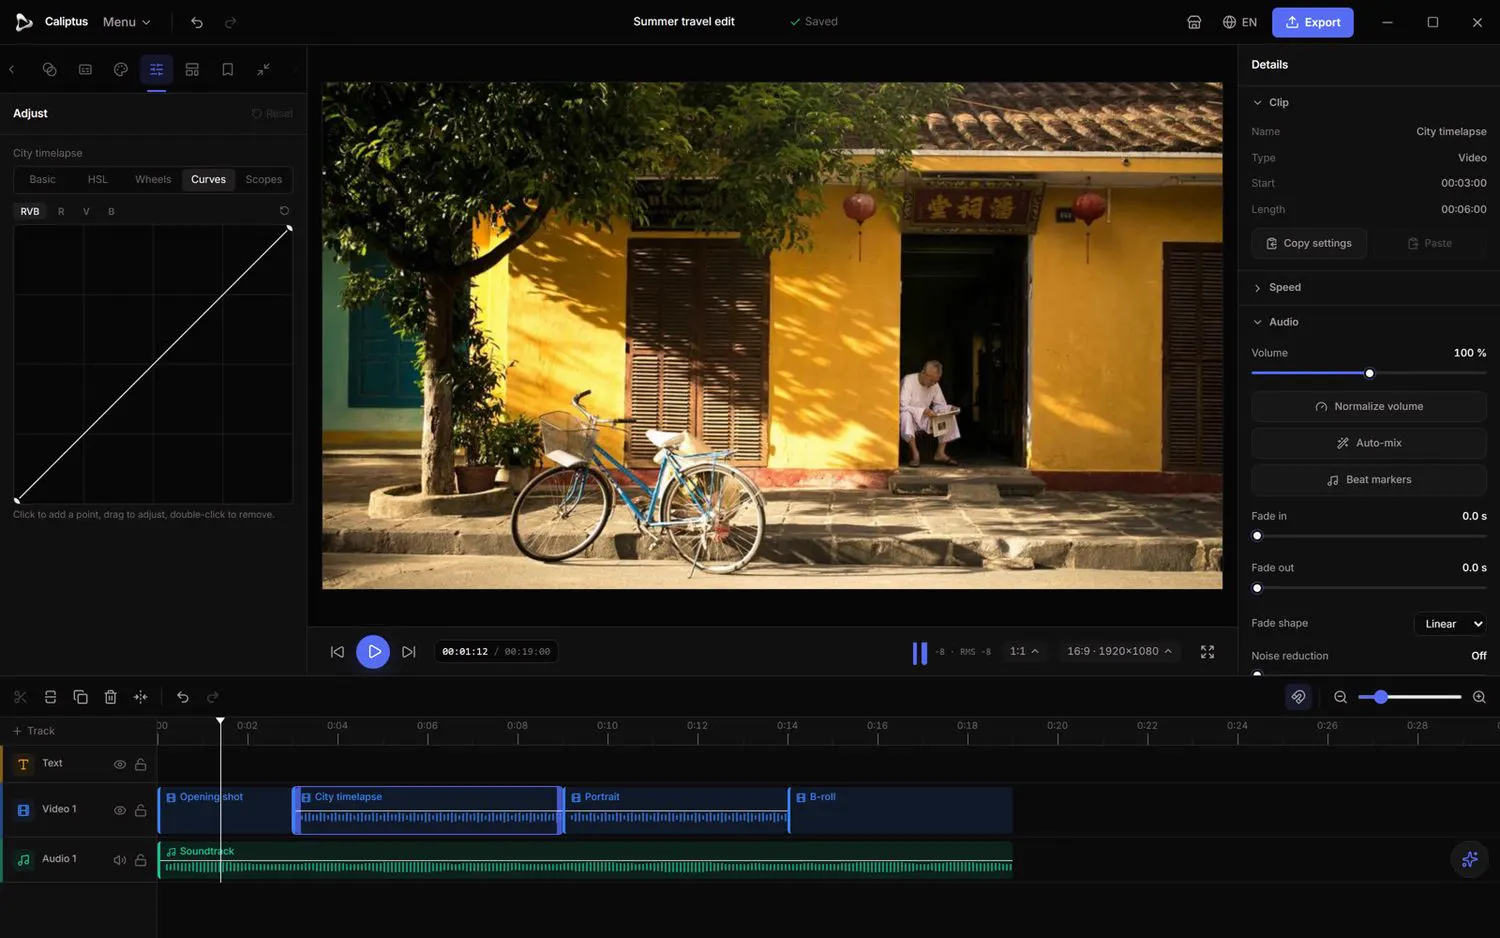
Left panel › Adjust › Curves
Shape contrast and color with the most precise tool of all.
- Open the Curves sub-tab.
- Click the curve to add a point, drag to adjust, double-click a point to remove it.
- Use Reset curve to flatten it again.
Scopes
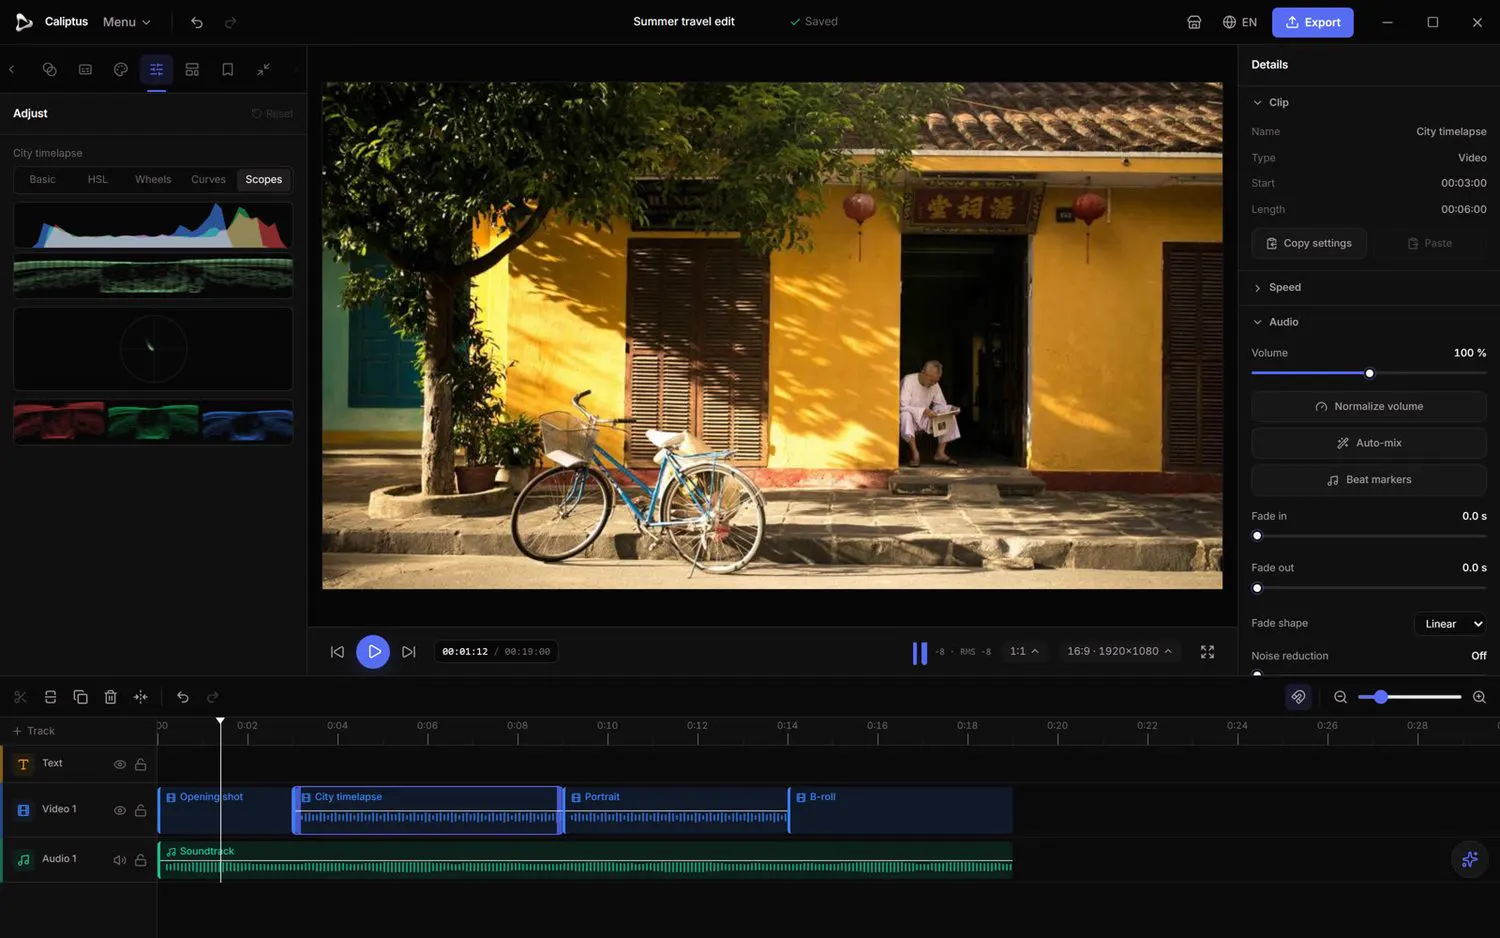
Left panel › Adjust › Scopes
Read your image objectively with broadcast scopes instead of trusting your monitor alone.
- Open the Scopes sub-tab.
- Watch the Histogram and Waveform for exposure, the Vectorscope for hue and saturation, and the RGB Parade for color balance.
- Grade until the scopes confirm what your eye sees.
Presets, cinematic looks and LUTs
Left panel › Adjust
Start from a finished look, or bring in professional .cube LUTs.
- Apply a Preset or a Cinematic look for an instant starting point.
- Import a LUT (.cube) or pick from the built-in LUTs, with Log › Rec.709 conversions included.
- Export your own grade as a LUT (.cube) to reuse it elsewhere or share it.
Shot match and skin tone
Left panel › Adjust
Two assisted tools that solve the trickiest color problems automatically.
- Use Match a reference shot to align this clip's color to another shot.
- Use Fix skin tone to neutralize a color cast on faces.